
Let’s face it—baking can be a lot of fun, but if your kitchen is a mess, it can quickly turn into a stressful experience. Have you ever found yourself rummaging through drawers, looking for that one measuring spoon, or trying to locate your favorite cake pan buried under a mountain of other tools? You’re not alone! Learn how to arrange a minimalist kitchen setup for efficient baking and Organizing your tools and ingredients can make a world of difference, not just for efficiency but also for your overall enjoyment in the kitchen.
In this article, I’m going to share some tried-and-true tips on how to organize your baking supplies in a way that maximizes space, keeps everything easily accessible, and—yes—makes baking a lot more fun! Whether you have a small kitchen or just a cluttered countertop, these tips will help you transform your baking space into a well-oiled machine.
So, if you’re ready to cut the chaos and make your kitchen work for you, keep reading. Trust me, once everything is in place, your baking routine will never be the same again.
Essential Tools and Ingredients You Need to Organize
Before we dive into the specifics of organizing, let’s take a moment to identify the essential tools and ingredients you’ll need to keep in order. Trust me, once you’ve got everything categorized and stored properly, you’ll feel like a baking pro every time you step into the kitchen!
Common Baking Tools and Equipment:
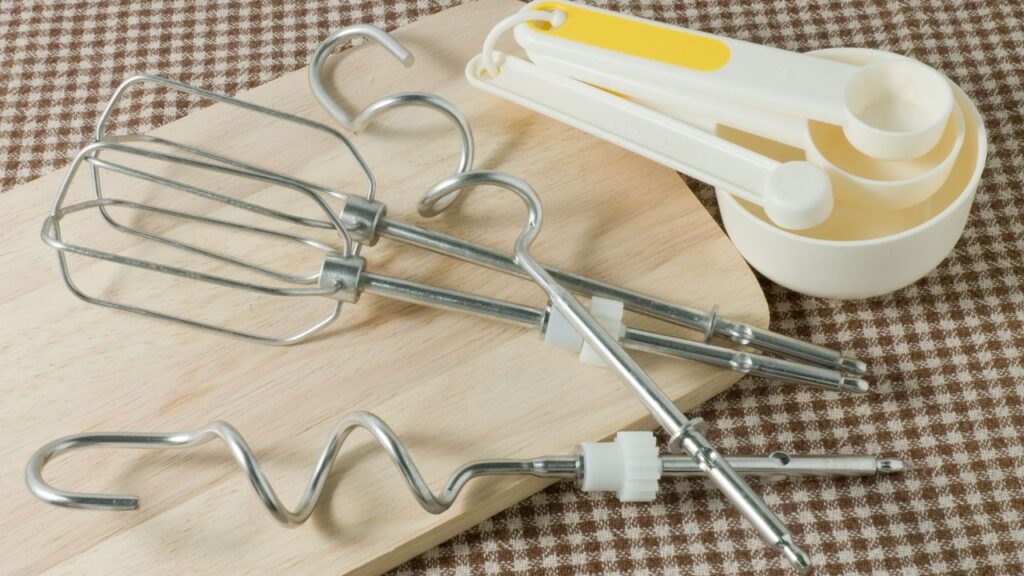
- Mixing Bowls: These come in all sizes and materials, and they’re essential for just about any recipe. Consider stacking them or using dividers to keep them neat and accessible.
- Measuring Cups and Spoons: Measuring is everything when it comes to baking, so make sure these are easy to grab. You can store them in drawer organizers or hang them for easy access.
- Baking Pans: From cake pans to muffin tins and cookie sheets, you’ll want a system to organize these to avoid the clutter. I recommend using vertical storage or stackable bins to save space.
- Rolling Pins and Whisks: These are tricky to store without taking up too much space. A hanging rack or a drawer divider can help keep them organized.
- Mixers and Blenders: If you use a stand mixer or hand mixer often, find a dedicated space to store it where it’s easily accessible.
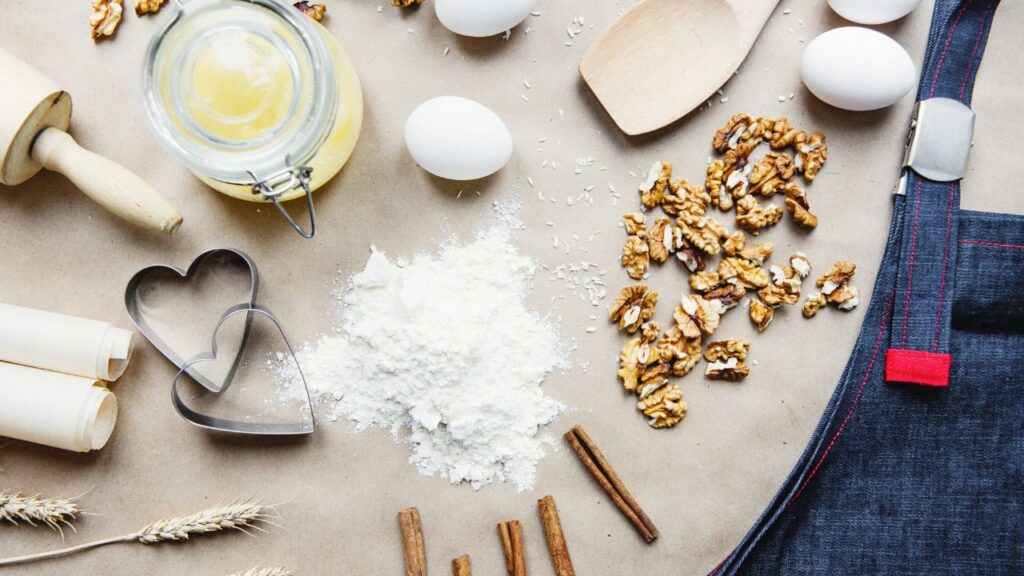
Baking Ingredients to Consider:
- Flour and Sugar: These are the base of so many baking recipes, so storing them properly is key. Consider airtight containers to prevent them from going stale.
- Baking Powder and Baking Soda: Keep these in small containers that are clearly labeled to prevent mix-ups.
- Spices: Cinnamon, nutmeg, and vanilla are just a few essentials. I like to store them in small spice jars, grouped by type, to keep things tidy.
- Chocolate Chips, Nuts, and Dried Fruits: These often get mixed up or lost at the back of the pantry. Use clear jars or bins to keep them visible and organized.
Why Grouping Is Important:
Grouping similar items together not only saves time but also maximizes space. For example, keep all your mixing and measuring tools in one section of your kitchen, while all your dry ingredients like flour and sugar can be stored together in the pantry. This way, when you need something, it’s right where you expect it.
By organizing your tools and ingredients in categories, you’re setting up a baking environment that’s not only efficient but also enjoyable. Imagine how much easier it’ll be to whip up your next batch of cookies when everything you need is within arm’s reach and neatly stored!
Let’s move on to the best ways to organize these tools and ingredients for maximum efficiency. Stay tuned!
Tips for Organizing Baking Tools and Equipment
Now that we’ve identified the tools and ingredients you need to organize, let’s talk about how to actually store them. Whether you have a spacious kitchen or a cozy space, these simple tips will help you make the most of your available room without sacrificing ease of access. Let’s dive into some smart storage solutions for your baking tools!
Efficient Storage Solutions for Baking Tools:
- Drawer Dividers: A must-have for small tools like measuring spoons, spatulas, and whisks. Drawer dividers will keep everything from mixing spoons to cupcake liners neatly organized and easy to access. I love how they save space and prevent things from getting lost!
- Hanging Racks: If you’re short on counter space, hanging racks are a lifesaver. You can hang your rolling pins, spatulas, and even certain baking pans. It’s an easy and affordable way to free up drawer space while keeping your essentials within reach.
- Stackable Bins: For larger items like mixing bowls, measuring cups, or even small gadgets, stackable bins are perfect. You can create a vertical system to make use of cabinet or pantry space. The key is labeling each bin for quick identification.
Storing Baking Pans, Mixers, and Rolling Pins:
- Baking Pans: I’m sure you’ve got a collection of baking pans—cake pans, muffin tins, baking sheets, etc. These can take up a lot of space if you don’t have a system. A vertical storage option, like a file organizer or a pull-out tray, works wonders for maximizing space without making your pans feel cluttered.
- Mixers: Stand mixers are bulky and heavy, but they don’t need to be tucked away on the top shelf of a cabinet. Store them on a low shelf or under the counter if possible, making sure they’re within easy reach for those last-minute baking moments. A pull-out tray in a cabinet can work if you want a more hidden storage option.
- Rolling Pins: Rolling pins can be tricky because of their shape. A great trick is to hang them from a hook or pegboard. Not only does this save counter space, but it also keeps them handy when you’re rolling dough.
Creative Ways to Maximize Space in Small Kitchens:
Living in a smaller kitchen doesn’t mean you have to sacrifice your baking setup. A little creativity goes a long way. Try using the back of cabinet doors for hanging utensils, or invest in stackable shelves for your pantry. You can also repurpose items you already have—like mason jars for storing small baking essentials like chocolate chips or sprinkles.
Keeping Tools Clean and Well-Maintained:
The best way to maintain an organized space is to regularly clean and maintain your tools. After each baking session, take a few extra minutes to wipe down your pans, utensils, and mixers. Keep your tools dry and store them properly to prevent any buildup of grease or flour dust. Also, be sure to rotate ingredients so you use them in the order they were purchased—this prevents older items from being forgotten and going bad.
By following these simple yet effective storage tips, you’ll not only maximize your kitchen space but also keep your baking tools in top shape. Now, let’s move on to organizing your ingredients for optimal freshness!
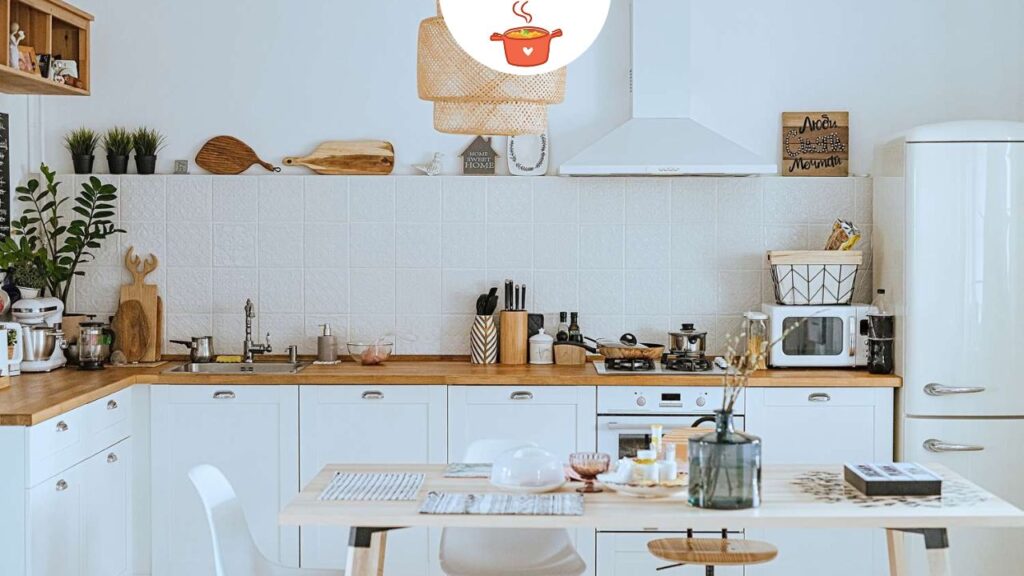
Organizing Your Baking Station
Creating an efficient baking station is crucial for smooth, stress-free baking sessions. Imagine starting to bake, and everything you need is within arm’s reach—ingredients, tools, and even the bowls. A well-organized station helps speed up your process and keeps you focused on the fun part: baking! Here’s how you can do it:
How to Create an Efficient Baking Station:
- Strategic Layout: The key to a great baking station is smart positioning. Ideally, your baking station should be close to the sink for easy cleanup and near storage for quick access to ingredients. Think about your workflow—measuring ingredients first, then mixing, and finally transferring them into the oven. Positioning your tools in a way that matches this flow is key.
- Maximize Counter Space: If you have limited counter space, keep it clear of unnecessary items. Store essential tools like mixing bowls, rolling pins, and measuring cups right where you’ll need them. You can even use a countertop organizer to keep everything from spoons to spatulas handy.
- Drawers and Shelves: Utilize drawers or open shelving to keep things organized but visible. You want to be able to grab things quickly, so make sure they’re within your line of sight. A drawer with dividers can keep your measuring spoons and whisks in check, while open shelves are great for storing frequently used pans.
Using Labeled Bins for Quick Retrieval:
The beauty of labeled bins is that they allow for quick and easy access. You can organize ingredients by type—flour, sugars, spices—and keep them neatly in separate bins. The same goes for tools: group together all your cupcake liners, frosting bags, and cookie cutters, and place them in labeled baskets. This eliminates the need to rummage through drawers, giving you more time to focus on baking.
DIY Storage Solutions for Baking Tools
Who doesn’t love a good DIY project, especially when it makes life in the kitchen easier? Here are some affordable and creative ideas to help you organize your baking tools on a budget.
Affordable DIY Storage Ideas:
- Repurpose Kitchen Items: Don’t throw out old jars or containers. These can be transformed into perfect storage for small baking tools like spatulas, rolling pins, or measuring spoons. A simple mason jar can hold everything from your whisks to your cupcake liners.
- Pegboard Wall: If you’re short on space but have some free wall space, a pegboard can be a game changer. Hang everything from spatulas to mixing spoons, and even small pans. You can customize the layout to fit your needs and make your tools super accessible.
- Repurposed Baskets and Trays: Get creative by using old trays or baskets to organize baking supplies. A simple metal tray can hold several pans, while a sturdy basket can organize bags of flour and sugar. You can even stack smaller baskets inside cabinets to optimize storage space.
- Spice Racks for Tools: This might sound odd, but a spice rack is actually a genius solution for storing small baking tools. You can use it for piping tips, sprinkles, cupcake liners, or even small jars of baking powder and baking soda. It’s compact and keeps everything neat and tidy.
Step-by-Step: Creating a Baking Tools Storage Station
Here’s a quick step-by-step guide to create your own storage station using repurposed kitchen items:
- Step 1: Collect old mason jars, baskets, trays, and a pegboard (if you have the space).
- Step 2: Sort your baking tools into categories (mixing utensils, measuring cups, specialty items).
- Step 3: Label your containers for easy identification.
- Step 4: Arrange them by frequency of use—keep your go-to tools in the front.
- Step 5: Install the pegboard on a wall or cupboard door to hang any larger tools.
Maintenance and Upkeep
An organized baking space is great, but maintenance is key to keeping it functional long-term. Just like you maintain your kitchen tools, your organizational system needs some attention too. Here’s how you can ensure your setup stays as effective as possible:
How to Keep Your Baking Space Clean and Functional:
- Regularly Clean Your Tools: After each use, make it a habit to clean your tools properly. Baking tools can get caked with flour, sugar, or frosting, so a quick rinse or wipe down keeps them in great shape for next time.
- Rotate Ingredients: This is especially important for dry ingredients like flour, sugar, and baking powder. Keep an eye on expiration dates, and use the older ingredients first to avoid waste. This helps your pantry stay organized and ensures you always have fresh ingredients on hand.
- Reorganize as You Accumulate: As you add more tools or ingredients, take time to reassess your space. If you find that a particular tool is getting used more often, maybe it should move closer to your baking station. If certain ingredients are rarely used, consider moving them to a less accessible space.
- Declutter Periodically: It’s easy to accumulate things over time. Once every few months, go through your tools and ingredients. Get rid of anything that’s broken, expired, or that you haven’t used in ages. This keeps your kitchen feeling fresh and ensures that your setup stays streamlined.
Troubleshooting Common Organizing Issues
Let’s face it—sometimes organizing can feel overwhelming. Whether you have a tiny kitchen or a stack of bulky equipment, organizing your baking tools can come with its challenges. Here are some solutions to common organizing problems:
Dealing with Limited Kitchen Space:
- Use Vertical Storage: If floor space is limited, go vertical. Shelves, hanging racks, and pegboards are great ways to store baking tools without taking up valuable counter space.
- Compact Storage Bins: Opt for stackable or nesting bins to maximize storage in small cabinets. You’d be surprised at how much you can fit into a small space with the right containers.
Storing Bulky Equipment (e.g., Stand Mixers):
- Pull-out Shelves: If you have a stand mixer or other large equipment, consider installing pull-out shelves. They make it easy to access your heavy-duty tools without struggling to lift them from high cabinets.
- Dedicated Storage Space: For large appliances, set aside a dedicated storage space (like a bottom cabinet or under-counter area) to keep them organized and within reach.
Organizing a Busy Kitchen:
- Delegate Zones: If you have multiple people using the kitchen, assign different zones for each person. One person can handle mixing and prepping, while another focuses on baking. This helps maintain an organized workflow, even in a shared space.
Conclusion
A well-organized baking space isn’t just about aesthetics—it’s about efficiency and making the baking process easier and more enjoyable. By following these tips, you’ll be able to organize your tools and ingredients in a way that saves time, space, and sanity. Whether you have a large kitchen or a small one, organizing doesn’t have to be difficult. Start small, be consistent, and you’ll quickly see the benefits!
FAQs
How do I organize baking tools in a small kitchen?
Use vertical storage, such as wall-mounted shelves or pegboards, and opt for compact storage bins. Be sure to group tools by category for quick access.
What are the best containers for storing baking ingredients?
Airtight containers and labeled jars are the best option for keeping baking ingredients fresh and organized. Glass jars work especially well because they’re sturdy and easy to see through.
Can I store baking tools and ingredients in the same space?
Absolutely! Just make sure to separate tools from ingredients using bins or designated shelves. This will help you keep everything organized and easy to reach.
How do I organize my baking pantry on a budget?
Repurpose items like old jars, trays, or baskets. You can also use stackable bins and clear containers for a budget-friendly solution to organizing your baking pantry.