


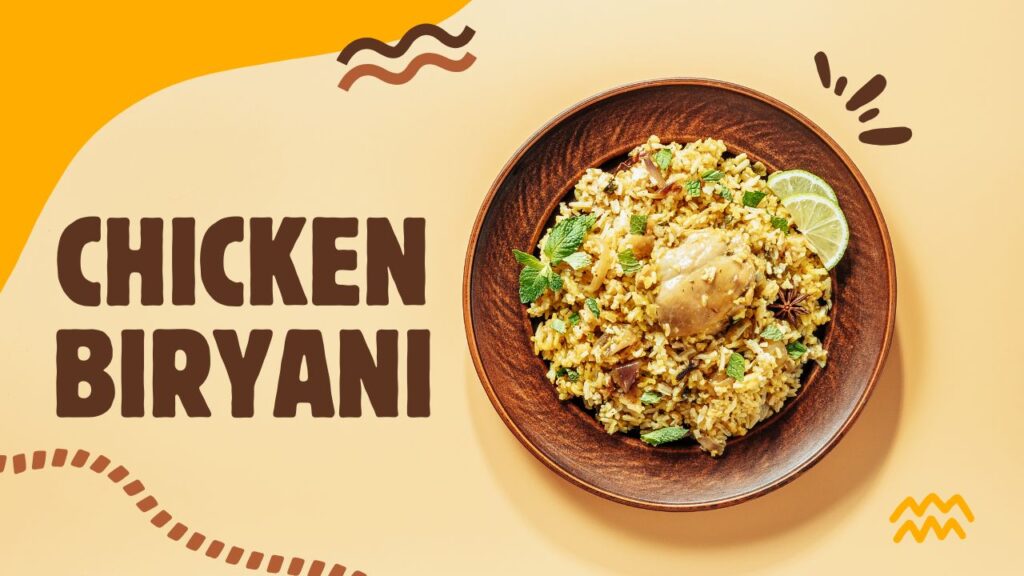
If you’ve ever craved a plate of aromatic, flavorful chicken biryani but felt intimidated by the process, trust me—I’ve been there! The good news? Cook chicken biryani at home isn’t as complicated as it seems. Once you understand the steps and get a feel for the right balance of spices, it becomes an enjoyable and rewarding experience.
Biryani is more than just a dish; it’s an emotion, a celebration on a plate. Whether it’s a weekend family dinner or a special occasion, this spiced rice and chicken dish never fails to impress. And while there are many versions—like Hyderabadi dum biryani or Mughlai chicken biryani—the core process remains the same: marinated chicken, fragrant basmati rice, and a perfect layering technique that locks in all the flavors.
In this guide, I’ll walk you through every step of making an authentic chicken biryani. You’ll learn about the essential ingredients, the art of layering, and the slow-cooking “dum” method that gives biryani its signature taste. Plus, I’ll share my personal tips to ensure your biryani turns out perfect every time!
Ready? Let’s dive in!
Contents
Ingredients Needed for Chicken Biryani
Before we jump into the cooking process, let’s talk about what goes into making a delicious chicken biryani. The right ingredients make all the difference in flavor, aroma, and texture. I always believe in using fresh, high-quality ingredients because they truly elevate the dish.
1. Essential Ingredients
Chicken
- Use bone-in chicken pieces for the best flavor and juiciness.
- Skinless thighs and drumsticks work best since they stay tender during the slow-cooking process.
Basmati Rice
- Always go for long-grain basmati rice—it’s the secret to fluffy, non-sticky biryani.
- Soaking the rice for 30 minutes before cooking helps achieve the perfect texture.
Spices and Aromatics
Biryani is all about layers of complex flavors, and that’s where spices come in!
| Spice | Purpose |
| Bay Leaves | Adds an earthy aroma to the rice |
| Green Cardamom | Infuses a mild sweetness |
| Cloves | Enhances warmth and depth |
| Cinnamon Stick | Gives a woody, slightly sweet fragrance |
| Star Anise | A key ingredient for a floral touch |
| Black Peppercorns | Brings a hint of spice |
| Biryani Masala | A blend of roasted spices for an authentic taste |
| Turmeric | Adds color and mild bitterness |
| Saffron Strands | Gives a rich golden hue and luxurious aroma |
Herbs & Other Flavor Boosters
- Fresh Coriander (Cilantro) and Mint Leaves – Essential for layering and adding freshness.
- Fried Onions – Deep-fried golden onions add a caramelized sweetness.
- Ghee (Clarified Butter) – Enhances richness and depth of flavor.
Yogurt & Marinade Ingredients
- Thick yogurt helps tenderize the chicken while adding a creamy texture.
- Lemon juice, garlic, ginger, and chili powder are key for a flavorful marinade.

Optional Additions
- Cashews & Raisins: Some regions add nuts for a touch of sweetness and crunch.
- Rose Water or Kewra Water: A few drops give the biryani an extra floral aroma.
Cooking Process: Step-by-Step Guide to Making Chicken Biryani
Now that everything is prepped, it’s time to bring the biryani to life. The cooking process involves three main steps: cooking the chicken, preparing the rice, and layering everything for the final “dum” cooking. Follow these steps carefully, and you’ll have a restaurant-style biryani right at home!
Step 1: Cooking the Chicken
- Heat ghee or oil in a deep, heavy-bottomed pan.
- Sauté whole spices (bay leaves, cinnamon, cloves, cardamom, and star anise) until fragrant.
- Add sliced onions and fry until golden brown. This step is crucial for adding depth to the biryani’s flavor.
- Stir in chopped tomatoes and cook until soft and pulpy.
- Add the marinated chicken and cook on medium heat until it starts releasing oil from the sides. Stir occasionally.
- Cover and cook for 15-20 minutes until the chicken is tender and the gravy thickens.
- Sprinkle fresh coriander and mint leaves for added freshness.
💡 Pro Tip: Avoid overcooking the chicken at this stage, as it will continue to cook in the final dum process.
Step 2: Preparing the Rice
- In a large pot, bring water to a boil and add whole spices (bay leaf, cardamom, cinnamon, and cloves).
- Add soaked basmati rice and a little salt. Cook until the rice is 70% done (it should still have a bite).
- Drain the rice immediately and spread it out on a tray to prevent overcooking.
💡 Pro Tip: The rice should be slightly undercooked at this stage because it will finish cooking during the dum process.
Step 3: Layering the Biryani
This is where all the flavors come together.
- In a heavy-bottomed pot, add a layer of cooked chicken.
- Spread a layer of partially cooked rice over it.
- Drizzle saffron milk, fried onions, and a spoonful of ghee over the rice.
- Repeat the layers until all chicken and rice are used.
- Cover the pot with a tight lid (or seal with dough) to trap the steam.
Step 4: Dum Cooking (Slow Cooking for Maximum Flavor)
- Turn the heat to the lowest setting and let the biryani cook for 25-30 minutes.
- If using a stovetop: Place a tawa (flat pan) under the pot to prevent direct heat and allow even cooking.
- If using an oven: Preheat to 180°C (350°F) and bake for 25 minutes.
- Let it rest for 10 minutes before opening the lid. This allows the flavors to settle.
💡 Pro Tip: When opening the lid, use a fork to fluff the rice gently, keeping the grains intact.
Serving Suggestions
Biryani is best enjoyed with complimentary side dishes. Here are some perfect pairings:
| Side Dish | Why It Works |
| Raita | Cools down the spice and enhances flavors |
| Salad | Fresh cucumbers, onions, and tomatoes add crunch |
| Pickles | A tangy contrast to the richness of biryani |
| Boiled Eggs | Commonly served as an extra protein boost |
Conclusion
And there you have it—a fragrant, flavorful, and absolutely delicious chicken biryani made right at home! Cooking biryani might seem like a long process, but trust me, once you taste that first bite, you’ll know it was all worth it. The key is patience, using the right ingredients, and following each step carefully.
Whether you’re making it for a special occasion or a cozy weekend dinner, homemade biryani always brings people together. So go ahead, try this recipe, and let your kitchen be filled with the irresistible aroma of freshly cooked biryani!
Frequently Asked Questions (FAQs)
1. Can I use boneless chicken for biryani?
Yes, you can use boneless chicken, but bone-in chicken gives a deeper flavor as the bones release juices while cooking. If using boneless, reduce the cooking time to prevent drying out.
2. Why is my biryani rice mushy?
Mushy rice is usually due to overcooking or using too much water. To avoid this:
- Use long-grain basmati rice and soak it for 30 minutes.
- Parboil (70% cook) the rice before layering.
- Drain excess water immediately and spread the rice to prevent further cooking.
3. Can I cook biryani without saffron?
Yes! While saffron adds aroma and color, you can substitute it with turmeric-infused milk or kewra water for a similar effect.
4. How do I get the perfect “dum” cooking without burning the biryani?
To avoid burning:
- Cook on low heat and place a tawa (flat pan) under the biryani pot.
- Use a heavy-bottomed pot to distribute heat evenly.
- Seal the lid properly with dough or a heavy weight to trap the steam.
5. How long can I store chicken biryani?
Biryani stays fresh in the fridge for 2-3 days when stored in an airtight container. To reheat, sprinkle a little water on top and warm it on low heat or microwave it covered.
6. Can I make biryani in an Instant Pot or pressure cooker?
Yes! To make biryani in an Instant Pot:
- Sauté spices, onions, and marinated chicken in Sauté mode.
- Add soaked rice and water in a 1:1 ratio.
- Cook on Manual mode for 6 minutes, then release pressure naturally.
7. What is the best rice-to-chicken ratio for biryani?
A good rule of thumb is 1:1 or 1:1.5 (for every 1 cup of rice, use 1 to 1.5 cups of chicken). This ensures a perfect balance of meat and rice.