
")
If you’ve ever struggled with cooking chicken breast evenly, you’re not alone. I used to wonder why my chicken turned out dry in some spots and undercooked in others. Then, I learned a simple trick—cutting chicken breast in half properly can make all the difference.
Slicing chicken breast correctly helps in multiple ways. It ensures even cooking, absorbs marinades better, and speeds up meal prep. Whether you want thin chicken cutlets for pan-frying or butterflied chicken for stuffing, mastering this technique will change how you cook forever.
In this guide, I’ll walk you through the easiest way to cut chicken breast in half, along with essential tools, safety tips, and expert slicing techniques. Whether you’re a beginner or someone looking to refine your skills, this step-by-step method will help you prep chicken like a pro.
Let’s get started!
Contents
Tools & Preparation
Before we start cutting, let’s talk about the right tools and proper preparation. Using the correct equipment will make slicing chicken breast safer, easier, and more precise.
Essential Tools You’ll Need
To get clean, even cuts, make sure you have the following:
✅ Sharp Chef’s Knife (or Boning Knife) – A sharp knife is key to slicing smoothly without tearing the meat. A chef’s knife (8–10 inches) works well, but a boning knife (with a thinner, flexible blade) is great for precision cutting.
✅ Cutting Board (Preferably Non-Slip) – A sturdy cutting board prevents accidents. I prefer a wooden or plastic board with a rubber grip so it doesn’t slide while cutting.
✅ Paper Towels – Patting the chicken breast dry helps reduce slipperiness, giving you more control over the knife.
✅ Food-Safe Gloves (Optional) – If handling raw chicken makes you uneasy, disposable gloves can help maintain hygiene.
Preparing the Chicken for Slicing
1️⃣ Chill the Chicken Slightly – If the chicken breast is too soft, it can be difficult to cut evenly. Placing it in the freezer for 10–15 minutes firms it up, making slicing much easier.
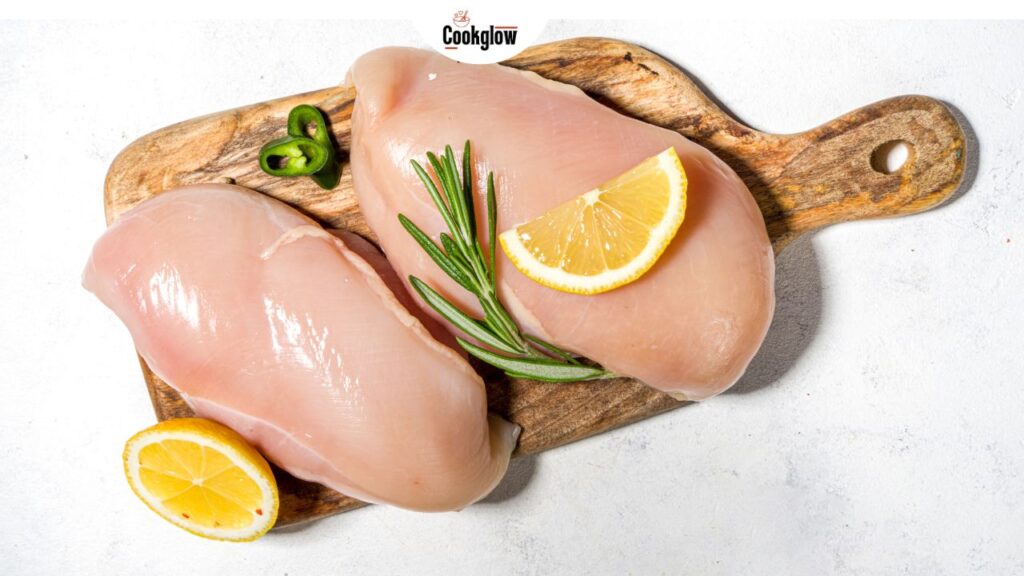
2️⃣ Place the Chicken on a Flat Surface – Lay the chicken breast flat on your cutting board. If it’s unevenly thick, gently press it down with your palm.
3️⃣ Identify the Natural Grain – Look at the direction of the muscle fibers. This will help you decide how to slice properly, whether you want to butterfly the chicken or cut it into thin fillets.
4️⃣ Keep a Firm Grip – Hold the chicken steady with your non-cutting hand. Curl your fingers slightly to avoid accidental cuts.
Now that everything is ready, let’s move on to the actual cutting process!
Step-by-Step Guide to Cutting Chicken Breast in Half
Now that we have everything ready, it’s time to slice! Whether you’re cutting chicken breast for faster cooking, portion control, or even stuffing, these steps will ensure a clean, even cut every time.
Step 1: Position the Chicken Breast Correctly
Lay the chicken breast flat on your cutting board. If one side is thicker than the other, position the thickest part on your dominant-hand side. This gives you better control over your knife.
Step 2: Identify the Cutting Direction
Look at the chicken’s natural shape. You want to slice it horizontally, creating two even halves rather than cutting it vertically into chunks.
Step 3: Hold the Chicken Steady
Place your non-dominant hand on top of the chicken breast, keeping your fingers slightly curled for safety. This stabilizes the meat while you cut.
Step 4: Start Slicing Horizontally
Using a sharp knife, begin cutting into the thicker edge of the chicken breast, slicing horizontally toward the thinner side. Keep your knife parallel to the cutting board for an even cut.
🔹 Pro Tip: Use a gentle sawing motion instead of pressing down hard. This helps prevent tearing and keeps the cut smooth.
Step 5: Complete the Cut & Separate the Halves
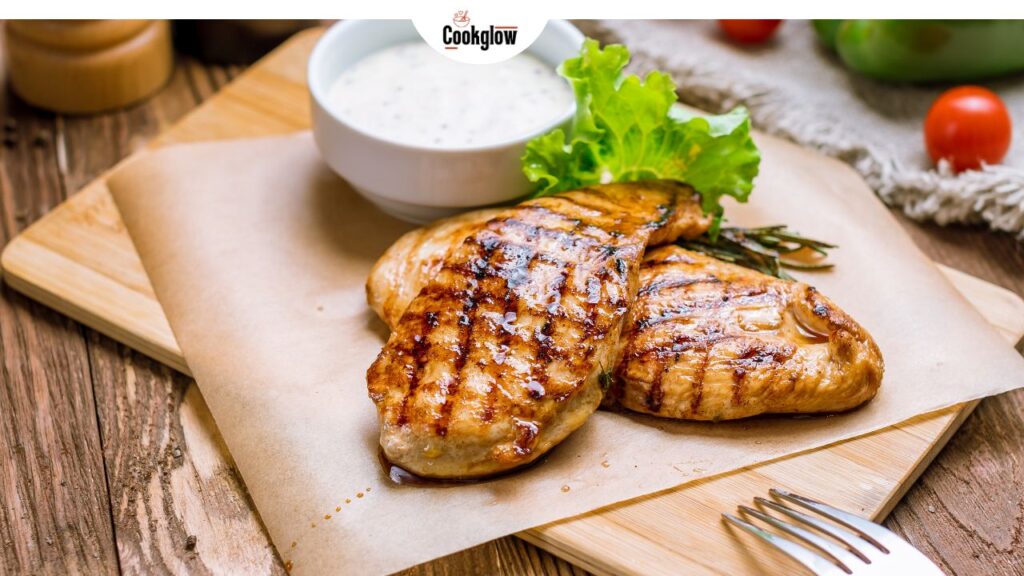
Continue slicing carefully until you have two even pieces. These can be used as thinner fillets for grilling or pan-frying. If you want butterflied chicken, stop cutting just before the end so the two halves remain attached.
Step 6: Check for Even Thickness
If one half is thicker than the other, you can gently pound it with a meat mallet or the back of a knife to even it out. This ensures uniform cooking.
Now that your chicken breast is cut perfectly, let’s explore alternative cutting techniques to suit different recipes!
Alternative Cutting Technique
Depending on your recipe, you may need to cut chicken breast in different ways. Here are some variations:
1. Butterflying for Stuffed Chicken
Butterflying is great when you want to stuff the chicken with cheese, vegetables, or herbs. Instead of cutting all the way through, stop just before the end so the two halves stay connected. Then, open the chicken like a book, creating a larger surface for stuffing.
2. Slicing into Strips for Stir-Fry or Fajitas
For stir-fry, tacos, or fajitas, cut the chicken breast into thin strips. Tip: If you want tender, restaurant-quality chicken, slice against the grain (opposite the direction of the muscle fibers).
3. Dicing for Soups, Salads, or Casseroles
If you need bite-sized pieces for soups or salads, dice the chicken into small, even cubes. This helps with quick, uniform cooking.
Best Uses for Cut Chicken Breast
Once you’ve cut the chicken breast, you can use it in various dishes depending on the thickness. Here’s a handy table to guide you:
| Cut Type | Best Cooking Method | Recommended Dishes |
| Thin Slices | Pan-frying, Grilling | Chicken Milanese, Sandwiches |
| Butterfly Cut | Stuffed & Baked | Stuffed Chicken, Chicken Kiev |
| Strips | Stir-frying, Sautéing | Fajitas, Stir-Fry, Tacos |
| Cubes | Boiling, Sautéing | Soups, Salads, Casseroles |
Common Mistakes to Avoid
Even with the right technique, some mistakes can lead to uneven cuts or unsafe handling. Here’s what not to do:
❌ Using a Dull Knife – A dull knife makes it harder to get clean cuts and increases the risk of slipping. Always use a sharp knife.
❌ Cutting Chicken That’s Too Soft – If the chicken is too soft or warm, it’s harder to slice evenly. Chill it slightly for better control.
❌ Ignoring the Grain of the Meat – Cutting with the grain makes the chicken chewy. Always slice against the grain for tenderness.
❌ Skipping Hand Hygiene – Handling raw chicken requires proper hygiene. Wash your hands and sanitize surfaces after cutting.
Storage and Meal Prep Tips
If you’re prepping chicken in advance, proper storage is essential. Here’s how to keep it fresh:
| Storage Method | Recommended Duration | Best Practices |
| Refrigerator (Raw) | 1–2 Days | Store in airtight container |
| Freezer (Raw) | Up to 9 Months | Wrap tightly in plastic wrap |
| Refrigerator (Cooked) | 3–4 Days | Store in shallow container |
| Freezer (Cooked) | Up to 4 Months | Cool completely before freezing |
Pro Tip for Meal Prepping
💡 Portion your chicken before freezing—this makes it easier to grab just what you need for a meal without defrosting everything.
Conclusion
Cutting chicken breast the right way makes a huge difference in cooking. Whether you’re making thin fillets for a crispy cutlet, butterfly-cut chicken for stuffing, or strips for fajitas, using the correct technique ensures even cooking and better flavor absorption.
Now that you know how to slice chicken breast like a pro, you’ll never have to deal with unevenly cooked chicken again. Grab your knife, start practicing, and get ready for restaurant-quality meals at home!
Frequently Asked Questions (FAQ)
1. Why should I cut chicken breast in half?
Cutting chicken breast in half helps reduce cooking time, ensures even cooking, and improves texture. It also allows for better seasoning and marinade absorption.
2. What is the best knife for cutting chicken breast?
A sharp chef’s knife (8–10 inches) is the best option for slicing chicken breast. A boning knife is also great for precision cuts, especially when butterflying.
3. Should I cut chicken breast before or after cooking?
It depends on the recipe. If you want even cooking and faster cooking time, cut the chicken before cooking. If you need shredded chicken, cook it first and then cut or shred.
4. How do I keep my cutting board from slipping?
Place a damp paper towel or a rubber mat under your cutting board to prevent it from moving while slicing.
5. Can I use a food processor to cut chicken breast?
A food processor is not ideal for slicing chicken breast, but it can be used to grind chicken for recipes like homemade chicken burgers or meatballs.
6. Should I wash raw chicken before cutting it?
No, washing raw chicken can spread bacteria. Instead, pat it dry with paper towels and sanitize your hands and cutting surfaces after handling.
7. How do I keep chicken from sticking to the knife?
If the chicken sticks to the knife, lightly oil the blade or chill the chicken for a few minutes before slicing.
8. Can I freeze pre-cut chicken breast?
Yes! If meal prepping, store sliced chicken in airtight containers or freezer bags to keep it fresh for up to 9 months in the freezer.