

Flavored cooking oils are a game-changer for anyone who loves experimenting in the kitchen. They’re versatile, aromatic, and bring that extra spark of creativity to your meals. Ever thought about making your own? The good news is, learning how to make flavored cooking oils at home is easier than you might think—and the results are absolutely worth it. Not only do these oils elevate your dishes, but they also make wonderful gifts for food-loving friends. Curious? Let’s dive in!
Contents
What Are Flavored Cooking Oils?
Imagine adding a punch of garlic, rosemary, or even chili to a simple dish without any extra prep—sounds amazing, right? Flavored cooking oils are simply oils infused with ingredients like herbs, spices, or citrus to enhance their taste and aroma.
Why bother making them at home? The store-bought versions may contain preservatives or artificial flavors. When you make your own, you know exactly what’s in them, and you have full creative control over the flavors. From garlic-infused olive oil to lemon-basil blends, the possibilities are endless. Plus, they’re cost-effective and incredibly satisfying to create.
Benefits of Making Homemade Flavored Oils
- Customizable flavors: Tailor the taste exactly to your liking.
- Fresh and natural: No chemicals or artificial additives.
- Cost-saving: Homemade oils are more budget-friendly than store-bought brands.
- Creative gifts: A beautifully bottled flavored oil makes a thoughtful present.
- Improved cooking: Intensifies flavors in sautés, marinades, and dressings.
Tools and Ingredients You’ll Need
Before jumping into recipes, it’s essential to gather the right tools and ingredients. Luckily, creating flavored oils doesn’t require fancy equipment.
Tools You’ll Need
- Saucepan or double boiler
- Cheesecloth or fine strainer
- Glass jars or bottles with airtight seals
- Funnel (makes pouring easier)
- Labels for customization
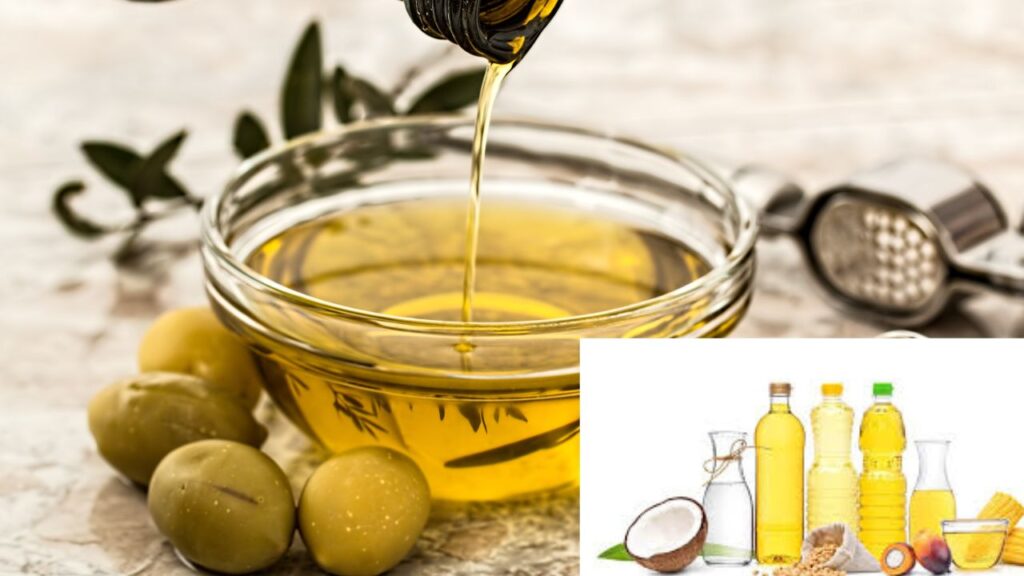
Ideal Oils for Infusion
Not all oils are created equal. Here are some of the best choices:
- Olive oil – Great for herbs, garlic, and citrus.
- Canola oil – Neutral and good for stronger flavors like chili.
- Grapeseed oil – Delicate and light for subtle infusions.
- Sunflower oil – Perfect for versatile applications.
Popular Ingredients for Infusion
- Fresh herbs like rosemary, thyme, or basil
- Spices such as peppercorns, cinnamon, or cloves
- Garlic, onion, or shallots
- Zest of lemon or orange
- Chili peppers for a spicy kick
Tip: Always use fresh, high-quality ingredients for the best results.
How to Make Flavored Cooking Oils at Home: Step-by-Step Guide
Creating your own infused oils can seem intimidating, but it’s actually quite simple. Here’s a step-by-step breakdown:
1. Prep Your Ingredients
- Clean and dry herbs or produce thoroughly to remove dirt and moisture.
- Chop or bruise the ingredients slightly to release their oils.
2. Choose an Infusion Method
There are two main methods to infuse oils, and each has its pluses:
Cold Infusion
- Combine your ingredients with oil in a sterilized jar or bottle.
- Seal and leave it to sit at room temperature for 1-2 weeks, shaking occasionally to distribute flavors.
- Strain the oil once it reaches your desired taste.
Hot Infusion
- Combine oil and ingredients in a saucepan over low heat.
- Simmer gently for 10-15 minutes, taking care not to burn the oil.
- Cool and strain into a clean jar or bottle.
Hot infusion is quicker, but cold infusion retains delicate flavors better. Which one should you try first? It depends on your patience (or lack thereof)!
Comparison of Infusion Methods
| Infusion Method | Ideal For | Time Required | Flavor Intensity |
|---|---|---|---|
| Cold Infusion | Delicate flavors (herbs/citrus) | 1-2 weeks | Subtle |
| Hot Infusion | Robust flavors (garlic/chili) | 15 minutes | Intense |
3. Strain and Store
- Use cheesecloth or a fine sieve to filter out solids; this step prevents spoilage.
- Pour oil into sterilized, airtight jars or bottles using a funnel.
4. Label and Enjoy
- Add labels to note the flavor and preparation date.
- Store your oils in a cool, dark place—their shelf life depends on storage and ingredients.
Popular Flavored Oil Recipes
Here are some easy and delicious ideas to get started:
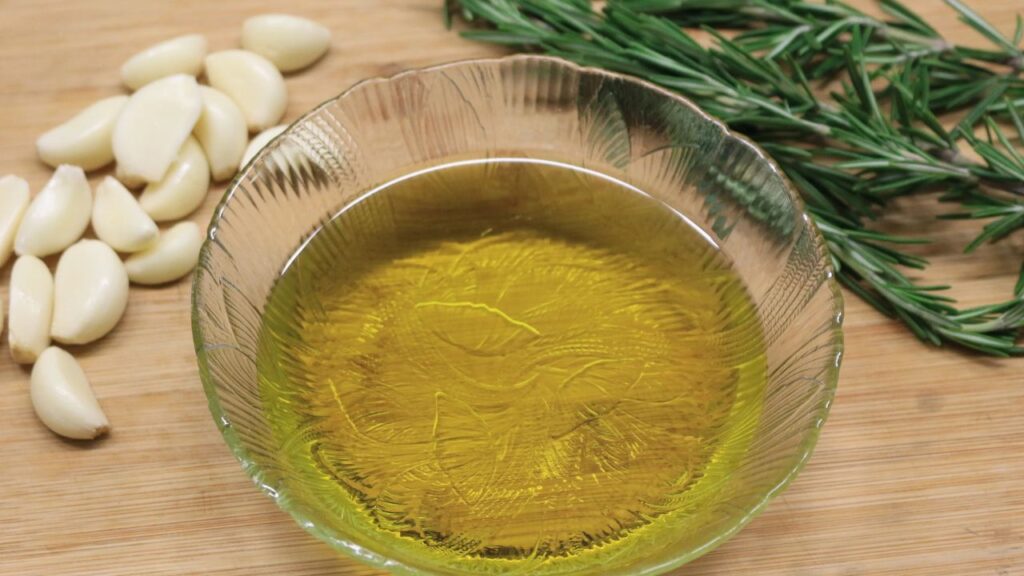
Garlic and Rosemary Infused Olive Oil
- Heat olive oil with a few garlic cloves and sprigs of rosemary.
- Strain and enjoy on roasted veggies or crusty bread.
Spicy Chili Oil
- Simmer canola oil with dried chili flakes and a star anise pod.
- Perfect for stir-fries or drizzling over pizza.
Lemon-Basil Oil
- Cold-infuse olive oil with lemon zest and fresh basil for a zesty salad dressing.
Need inspiration? Experiment with your favorite herbs, spices, or combinations to create a signature blend.
How to Store Infused Oils Properly
To avoid spoilage and ensure safety:
- ALWAYS strain out solid ingredients; they can harbor bacteria.
- Use sterilized glass containers to prevent contamination.
- Keep oils in the refrigerator, especially if garlic, citrus, or fresh herbs are used.
Recommended Shelf Life for Infused Oils
| Type of Infusion | Shelf Life in Fridge |
|---|---|
| Garlic or fresh herb oils | 1-2 weeks |
| Dried spice oils | 1-2 months |
Have leftovers? Use them quickly to avoid waste.
Creative Uses for Flavored Oils
Flavored oils aren’t just for cooking! Here are some clever ways to use them:
- Drizzle on grilled vegetables
- Brush onto bread before baking
- Use as a base for homemade marinades
- Give as a homemade gift in decorative bottles
Adding a personal touch, like a handwritten note or ribbon, can make these gifts extra special.
FAQs
1. What are the best flavored oil recipes?
Garlic-rosemary, chili oil, and lemon-basil are popular options. You can mix and match to suit your taste.
2. Is it safe to make flavored oils at home?
Yes, as long as you follow proper hygiene, remove solids, and refrigerate oils to prevent bacterial growth.
3. How long do homemade infused oils last?
It depends on the ingredients. Fresh herbs or garlic oil lasts for 1-2 weeks in the fridge, while dried spices give you more time.
Final Thoughts
Making flavored cooking oils at home is a fun and rewarding kitchen project. Why settle for store-bought varieties when you can create unique blends tailored to your taste? Whether you’re a health nut, a gift-giver, or a food lover looking to elevate your dishes, these oils bring endless possibilities. Try it today—and share your creations with others!