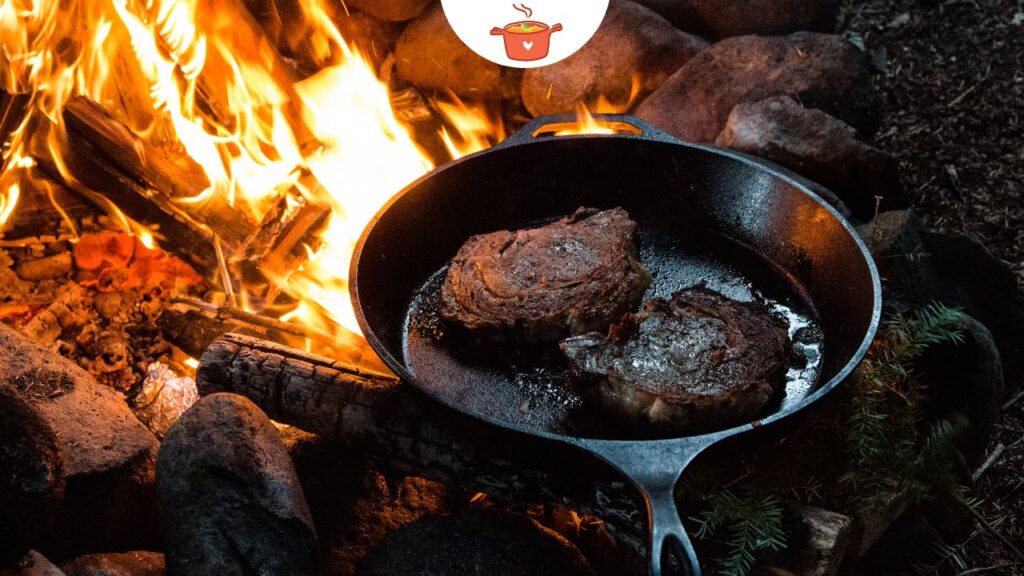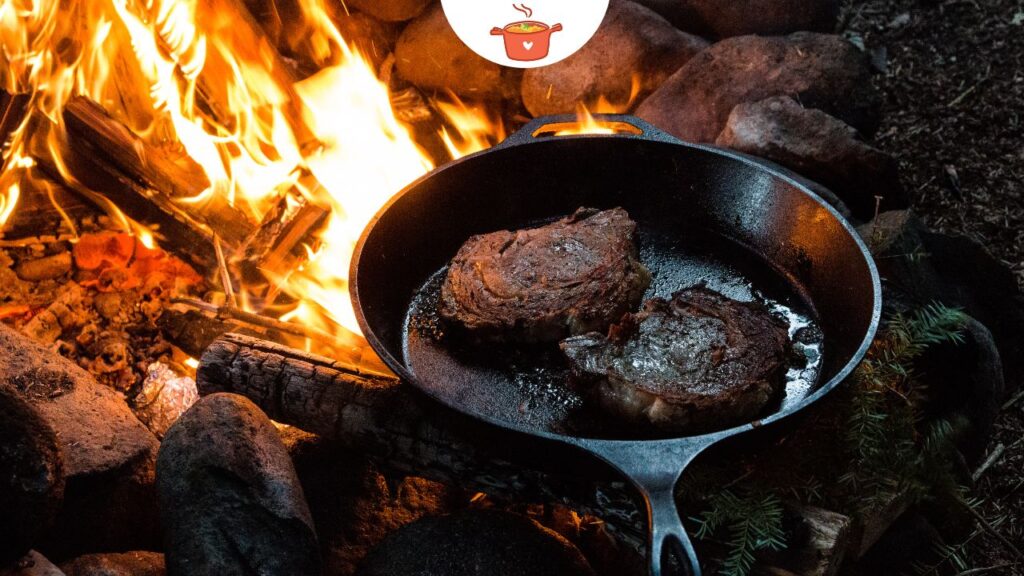
Have you ever wondered how top chefs achieve that mouthwatering, caramelized crust on their steaks? Quick tips for mastering pan-searing can transform your cooking game, giving you restaurant-quality dishes right in your own kitchen. Whether you’re a seasoned home cook or just starting out, these expert techniques will help you create perfectly seared meats, fish, and vegetables every time.
Contents
- 1 Understanding Pan-Searing
- 2 Essential Tools and Ingredients
- 3 Step-by-Step Tips for Mastering Pan-Searing
- 4 Advanced Pan-Searing Techniques
- 5 Pan-Searing Different Types of Proteins
- 6 Cleaning and Maintaining Your Pan
- 7 Troubleshooting Common Pan-Searing Issues
- 8 Frequently Asked Questions (FAQs)
- 9 Conclusion
Understanding Pan-Searing
What is Pan-Searing?
Pan-searing is a high-heat cooking technique used to create a flavorful, browned crust on the surface of food while keeping the inside tender and juicy. Unlike other cooking methods, pan-searing focuses on achieving that perfect Maillard reaction, which enhances both the flavor and texture of your dishes.
The Science Behind Searing
The magic of pan-searing lies in the Maillard reaction, a chemical process that occurs when proteins and sugars in the food are exposed to high heat. This reaction not only gives your food a beautiful golden-brown color but also develops complex flavors that are simply irresistible.
Benefits of Pan-Searing
- Enhanced Flavor and Texture: Achieves a delicious crust while maintaining a juicy interior.
- Versatility: Suitable for various proteins like steak, chicken, fish, and even vegetables.
- Quick Cooking: Fast method that locks in flavors and juices.
Essential Tools and Ingredients
Choosing the Right Pan
Selecting the right pan is crucial for successful pan-searing. Heavy-bottomed pans like cast iron skillets are ideal because they retain and distribute heat evenly, ensuring a consistent sear.
| Type of Pan | Pros | Cons |
|---|---|---|
| Cast Iron Skillet | Excellent heat retention, durable | Heavy, requires maintenance |
| Stainless Steel Pan | Non-reactive, easy to clean | Can stick if not properly heated |
| Carbon Steel Pan | Similar to cast iron but lighter | Requires seasoning, prone to rust |
| Non-Stick Pan | Easy to use, minimal sticking | Not ideal for high-heat searing |

Selecting the Best Cooking Oil
Choosing the right oil is essential for high-heat pan-searing. Opt for oils with a high smoke point to prevent burning and imparting unpleasant flavors.
- Canola Oil
- Grapeseed Oil
- Avocado Oil
Avoid oils with low smoke points like olive oil or butter for the initial searing process. Instead, you can add butter towards the end for added flavor.
Preparing Your Ingredients
Proper preparation can make or break your searing experience. Dry your proteins thoroughly with paper towels to prevent steaming instead of searing. Season generously with salt and pepper or your favorite spices to enhance flavor.
Step-by-Step Tips for Mastering Pan-Searing
Preheating the Pan Properly
A well-preheated pan is the foundation of a perfect sear. To test if your pan is hot enough, sprinkle a few drops of water on the surface. If they sizzle and evaporate immediately, the pan is ready.
Managing Temperature
Maintaining the right temperature is key to avoiding burnt exteriors and undercooked interiors. Start with high heat to sear, then adjust as needed to ensure even cooking without burning.
Avoiding Common Mistakes
- Overcrowding the Pan: Leave enough space between pieces to allow proper browning.
- Moving the Protein Too Soon: Let it develop a crust before flipping to prevent sticking.
Achieving the Perfect Sear
Timing is everything. Depending on the thickness and type of protein, searing times will vary. Use tongs to flip your food gently, ensuring an even crust on both sides.
Finishing Touches
After searing, you can deglaze the pan with a splash of wine or broth to create a flavorful sauce. Let your meat rest for a few minutes to allow the juices to redistribute, resulting in a more tender and juicy dish.
Advanced Pan-Searing Techniques
Reverse Searing Method
The reverse sear involves cooking the meat at a low temperature first and then finishing with a high-heat sear. This method ensures even cooking and a consistent crust.
Steps:
- Preheat Oven: Set to 275°F (135°C).
- Cook Meat: Place in the oven until it reaches an internal temperature of about 10-15°F below your desired doneness.
- Sear on Stovetop: Quickly sear in a hot pan for a beautiful crust.
Searing and Then Oven-Finishing
For thicker cuts, start by searing on the stovetop and then transfer to a preheated oven to finish cooking. This technique ensures the meat is cooked evenly throughout.
Incorporating Aromatics and Butter
Adding garlic, herbs, and butter towards the end of searing can elevate the flavor. Baste your meat with the melted butter and aromatics for an extra layer of taste.
Pan-Searing Different Types of Proteins
Pan-Searing Steak
Best Cuts for Searing:
- Ribeye
- New York Strip
- Filet Mignon
Tips:
- Let the steak come to room temperature before searing.
- Use high heat and a heavy pan for optimal crust formation.
Pan-Searing Chicken Breast
Preventing Dryness:
- Pound the chicken to an even thickness.
- Cook on medium-high heat and finish in the oven if needed.
Pan-Searing Fish Fillets
Choosing the Right Fish:
- Salmon
- Cod
- Halibut
Tips:
- Use a non-stick or well-seasoned cast iron pan.
- Handle delicately to prevent breaking.
Pan-Searing Vegetables
Techniques for Vegetables:
- Asparagus
- Zucchini
- Bell Peppers
Enhancing Flavors:
- Season with herbs and spices.
- Add a splash of balsamic vinegar or lemon juice.

Cleaning and Maintaining Your Pan
Immediate Cleaning Tips
For cast iron skillets, clean immediately after use while the pan is still warm. Use hot water and a stiff brush to remove stuck-on bits. Avoid using soap to preserve the seasoning.
Long-Term Maintenance
- Seasoning Cast Iron Pans: Apply a thin layer of oil after cleaning to maintain the non-stick surface.
- Preventing Rust: Dry thoroughly and store in a dry place.
Troubleshooting Common Pan-Searing Issues
Protein Sticking to the Pan
Causes:
- Pan not hot enough
- Protein not dry enough
Solutions:
- Ensure proper preheating.
- Pat dry the protein before searing.
Uneven Searing
Causes:
- Inconsistent heat distribution
- Overcrowding the pan
Solutions:
- Use a heavy-bottomed pan.
- Cook in batches if necessary.
Overcooking or Undercooking
Tips:
- Use a meat thermometer to check doneness.
- Adjust heat as needed during cooking.
Lack of Flavor or Crust
Solutions:
- Ensure high heat for proper Maillard reaction.
- Season adequately before searing.
Frequently Asked Questions (FAQs)
What is the best pan for pan-searing?
Answer: A heavy-bottomed pan like a cast iron skillet is ideal for pan-searing due to its excellent heat retention and even heat distribution.
How do I know when my pan is hot enough for searing?
Answer: You can sprinkle a few drops of water onto the pan; if they sizzle and evaporate immediately, the pan is ready.
Can I pan-sear on a non-stick pan?
Answer: While possible, non-stick pans are not recommended for high-heat searing as they can degrade and do not develop the same flavorful crust.
How do I prevent my meat from sticking to the pan?
Answer: Ensure the pan is properly preheated and the meat is dry before adding it to the pan. Avoid moving the meat too soon.
Is it necessary to rest meat after pan-searing?
Answer: Yes, resting allows the juices to redistribute, resulting in a more flavorful and tender meat.
Conclusion
Mastering pan-searing is a game-changer in the kitchen, allowing you to create delicious, restaurant-quality dishes with ease. By understanding the basics, using the right tools and ingredients, and applying these quick tips for mastering pan-searing, you’ll elevate your cooking skills and impress your family and friends. Start practicing today, experiment with different proteins and techniques, and enjoy the rich, flavorful results that pan-searing has to offer. Share your favorite searing recipes, subscribe for more cooking tips, and continue exploring the wonderful world of culinary arts!

